跨境独立站开店
How to use GA4 in e-commerce: How to use Google Analytics
This guide will show you how to use GA4 in e-commerce. Learn the setup process and how to interpret key metrics to improve your sales analysis and operational efficiency.

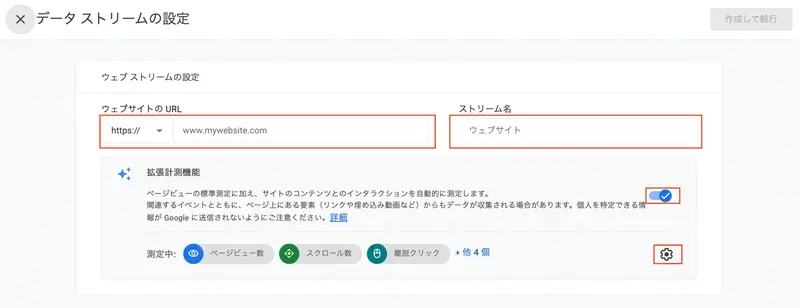
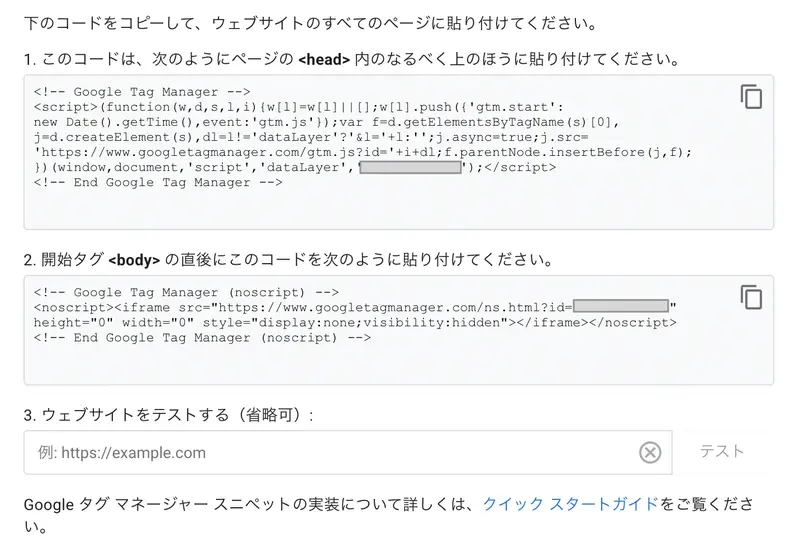
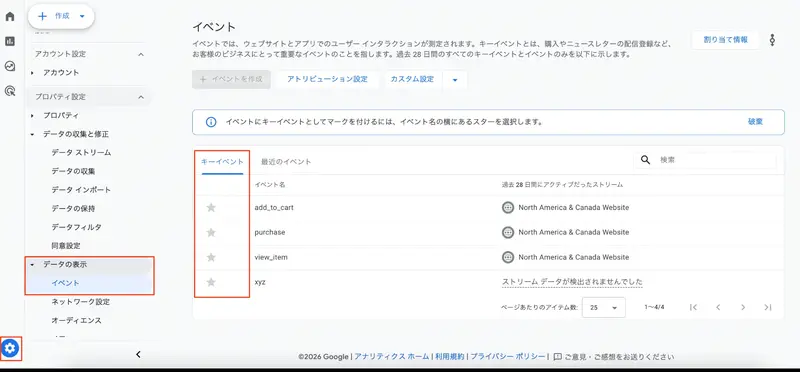
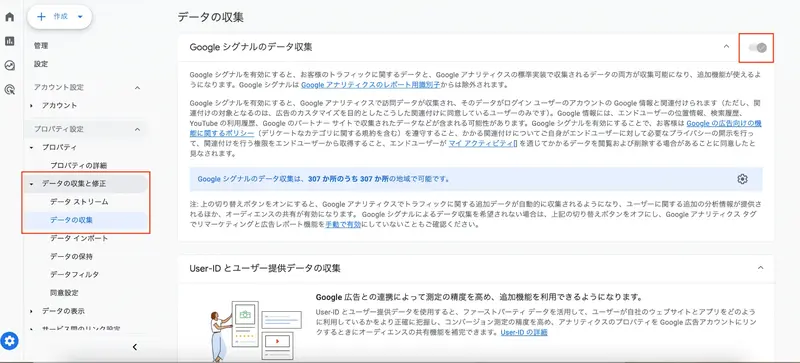
What is GA4?
GA4 (Google Analytics 4) is a website analytics tool provided by Google. Even the free version offers a wide range of analytics features, including those for e-commerce analysis, and is particularly characterized by its ability to collect data based on user actions (events) performed on a website.
1. Create a GA4 account.
To use GA4, you first need a free Google account and an Analytics account. If you don't have a Google account, create one, then access the GA4 page. Click "Start measuring," enter a desired Analytics account name (such as your company or brand name), and configure account data sharing. Uncheck any items you don't need or don't want to share.
2. Create a property
Next, we will configure the property settings. In GA4, a property is where data is stored. You can create multiple properties with a single account, so you can configure them for each site. Enter the site name or similar as the property name, and set the time zone and currency. For e-commerce targeting the Japanese market, select "Japan" for the time zone and "Japanese Yen (¥)" for the currency.
3. Select a business description and business objectives.
On the next screen, select your industry and business size, then click "Next" to select your business goals. By selecting your industry and goals, GA4 will create a report tailored to your industry, size, and goals. Click "Create" to view the Google Analytics Terms of Service, select your country, review the terms, check the checkbox if you agree, and click "Agree."